
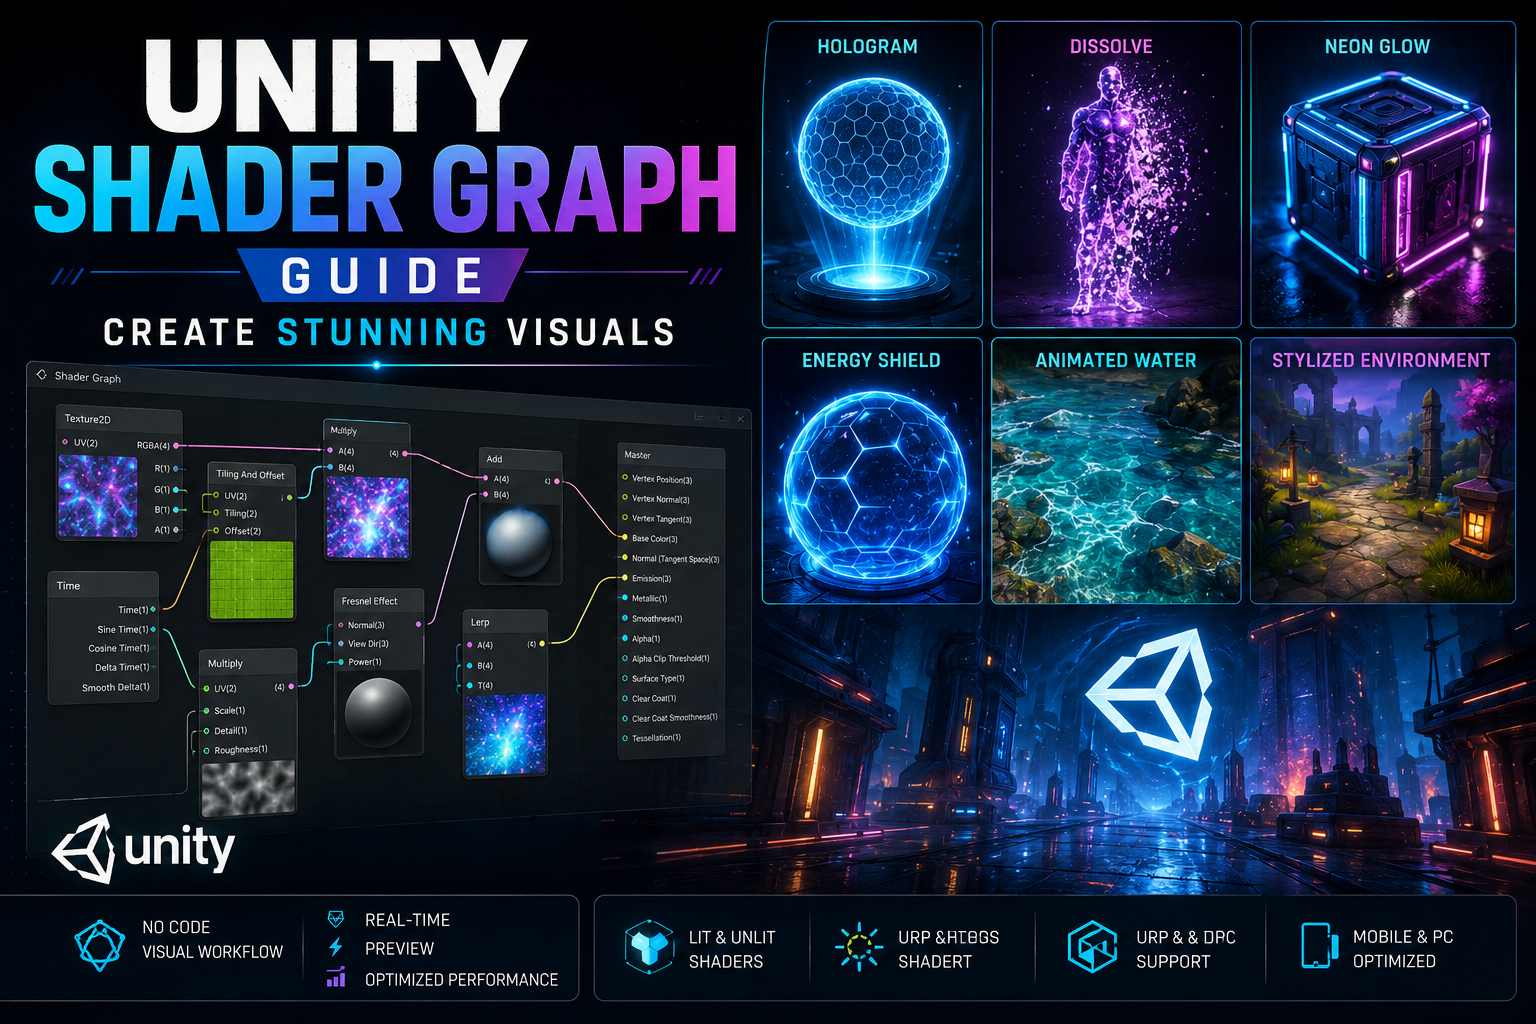
Shader Graph is one of the most powerful visual tools available to Unity developers. It allows you to create custom materials and visual effects by connecting nodes instead of writing traditional shader code.
Whether you’re building a neon sci-fi game, a stylized RPG, a mobile game, or a realistic 3D experience, Shader Graph can help you create visuals that make your game feel more polished.
In this guide, we’ll cover the fundamentals of Shader Graph and several practical effects you can use in your Unity projects.
What Is Unity Shader Graph?
Unity Shader Graph provides a visual interface for creating shaders.
Instead of writing something like:
Shader "Custom/MyShader"and manually handling shader calculations, you work with a node-based graph.
You can connect nodes representing:
- Colors
- Textures
- Mathematics
- UV coordinates
- Time
- Normal
- Lighting
- Fresnel effects
- Noise
- Object position
- World position
The result is a custom material that can be used on your game objects.
Shader Graph is particularly useful for technical artists and game developers because you can experiment with visual effects quickly.
What Can You Create With Shader Graph?
Shader Graph can be used for much more than changing the color of an object.
Some common applications include:
✨ Glow Effects
Create glowing objects, weapons, pickups, signs, and sci-fi environments.
🔥 Dissolve Effects
Make enemies disappear, objects spawn dynamically, or characters dissolve when defeated.
👻 Holograms
Create futuristic holographic characters, UI displays, and sci-fi terminals.
🌊 Water
Build stylized or realistic water using scrolling textures, normals, distortion, and transparency.
⚡ Energy Effects
Create shields, force fields, portals, magic spells, lightning effects, and energy weapons.
🌈 Animated Materials
Use the Time node to continuously animate textures and colors.
Getting Started With Shader Graph
Before creating your first shader, make sure your project uses a render pipeline compatible with the Shader Graph workflow you’re following.
For modern Unity projects, URP (Universal Render Pipeline) is a particularly common choice.
Create a Shader Graph through:
Project → Create → Shader Graph
Depending on your Unity version and render pipeline, you’ll see options such as:
- Lit Shader Graph
- Unlit Shader Graph
- Sprite Unlit Shader Graph
- Sprite Lit Shader Graph
For many visual effects, an Unlit Shader Graph is a good starting point because you have direct control over the final appearance.
Understanding Shader Graph Nodes
The basic idea behind Shader Graph is simple:
Input → Processing → Output
For example:
Color
   ↓
Multiply
   ↓
Emission
   ↓
Master Stack
You can gradually build more complicated effects by adding additional nodes.
Some of the most useful nodes are:
| Node | Common Use |
|---|---|
| Color | Define colors |
| Texture 2D | Sample textures |
| Time | Animate effects |
| UV | Control texture coordinates |
| Multiply | Combine values |
| Add | Add values together |
| Lerp | Blend between values |
| Noise | Generate procedural patterns |
| Fresnel Effect | Edge glow |
| Split | Separate color channels |
| One Minus | Invert a value |
| Power | Control contrast |
| Step | Create hard transitions |
Learning these nodes gives you a strong foundation for creating your own effects.
Create a Simple Animated Material
Let’s start with something simple.
Create an Unlit Shader Graph and add:
Time
 ↓
Multiply
 ↓
Sine
 ↓
Lerp
 ↓
Base Color
The Time node gives you a continuously changing value.
The Sine node converts that value into an oscillating pattern.
You can then use that value to blend between two colors.
For example:
Blue ← Lerp → Purple
          ↑
        Sine
          ↑
         Time
Apply the resulting shader to a sphere and you have a continuously changing material.
This simple technique can be used for:
- Power cores
- Magic objects
- Energy weapons
- Sci-fi buttons
- Collectibles
Create a Neon Glow Effect
One of the easiest ways to make a game look more visually interesting is to create a strong emissive material.
Start with a color node.
For example:
Color
  ↓
Multiply
  ↓
Emission
Choose a bright cyan, blue, purple, orange, or green.
Increase the intensity of the emission.
When combined with Bloom in your render pipeline’s post-processing setup, the material can appear to glow.
This works particularly well for:
- Neon signs
- Sci-fi interfaces
- Spaceships
- Weapons
- Portals
- Power generators
Create a Hologram Shader
Holograms are another excellent Shader Graph effect.
A basic hologram can combine:
- Fresnel
- Transparency
- Scrolling lines
- Emission
- Noise
A simplified concept looks like:
Fresnel ───────┐
               ├── Add ──→ Emission
Scrolling UV ──┘
You can use the object’s UV coordinates and animate them using the Time node.
For example:
UV
 ↓
Tiling & Offset
 ↓
Time
 ↓
Texture
 ↓
Multiply
 ↓
Emission
This produces moving scan lines across the object.
Add transparency and a bright emissive color and you can create a convincing holographic appearance.
Create a Dissolve Effect
Dissolve shaders are extremely useful in games.
Imagine an enemy disappearing after being defeated.
Instead of simply disabling the GameObject, you can gradually dissolve the character.
The basic concept is:
Noise Texture
      ↓
   Compare
      ↑
Dissolve Amount
The dissolve amount controls how much of the object disappears.
You can expose this value as a property:
Dissolve Amount
Then control it from a Unity C# script.
For example:
material.SetFloat("_DissolveAmount", value);You can animate the value from 0 to 1.
This allows you to create effects such as:
- Enemy death
- Teleportation
- Object spawning
- Portal transitions
- Character transformations
Use Fresnel for Better Visuals
The Fresnel Effect node is one of the most useful Shader Graph nodes.
It produces a value based on the viewing angle.
Objects viewed from the side receive a stronger effect than objects viewed directly.
This makes Fresnel perfect for:
- Force fields
- Energy shields
- Character outlines
- Holograms
- Magic barriers
- Sci-fi objects
A common setup is:
Fresnel Effect
      ↓
   Multiply
      ↓
    Color
      ↓
   Emission
The result is a bright edge around your object.
Create an Energy Shield
You can combine Fresnel with transparency to create an energy shield.
A simple structure could be:
Fresnel
   ↓
Multiply ← Shield Color
   ↓
Emission
Then use the Fresnel result to control transparency.
You can improve the effect by adding animated noise:
Noise Texture
      ↓
     UV
      ↓
    Time
      ↓
  Distortion
      ↓
   Fresnel
The shield can then appear to have constantly moving energy across its surface.
Shader Graph and Mobile Games
Shader Graph can also be useful for mobile development, but you should be careful.
Complex shaders can increase GPU workload.
When targeting Android or other mobile platforms, avoid unnecessarily expensive combinations of:
- Multiple texture samples
- Large procedural noise calculations
- Complex transparency
- Excessive screen-space effects
- Expensive mathematical operations
A beautiful shader isn’t useful if it causes your game to drop frames.
Always test your materials on the actual target hardware.
Shader Graph Optimization Tips
1. Reduce Texture Samples
Texture sampling can become expensive when many textures are used in a single shader.
Reuse information whenever possible.
2. Avoid Unnecessary Transparency
Transparent materials can be significantly more expensive than opaque materials, particularly when many objects overlap.
3. Keep Effects Simple
A visually impressive effect doesn’t necessarily need dozens of nodes.
Often, a combination of:
Time + UV + Noise + Fresnel + Multiply
can produce excellent results.
4. Test on Target Hardware
A shader that performs perfectly on a desktop GPU may behave differently on a mobile device.
5. Profile Your Game
Use Unity’s profiling tools to identify GPU bottlenecks rather than guessing.
Shader Graph + C#
The real power of Shader Graph comes when you combine it with C#.
Instead of creating a static effect, expose shader properties and control them from your gameplay code.
For example:
[SerializeField]
private Material dissolveMaterial;

public void SetDissolve(float amount)
{
    dissolveMaterial.SetFloat("_DissolveAmount", amount);
}
Now your gameplay systems can control the shader.
You could connect this to:
- Health
- Damage
- Player abilities
- Enemy death
- Weapon charge
- Environmental states
- Game events
This is where Shader Graph becomes a powerful part of your gameplay architecture rather than simply an art tool.
Useful Shader Graph Effects for Your Games
If you’re building a Unity game, these are great effects to experiment with:
| Effect | Useful For |
|---|---|
| Fresnel Glow | Shields and characters |
| Dissolve | Enemy death |
| Hologram | Sci-fi environments |
| Scrolling UV | Energy and magic |
| Distortion | Portals and heat |
| Animated Noise | Fire and electricity |
| Gradient | Stylized materials |
| Vertex Displacement | Water and environments |
| Emission | Neon objects |
| Rim Lighting | Characters |
Final Thoughts
Unity Shader Graph makes shader development much more accessible.
You don’t need to start by learning complicated shader programming. Instead, you can learn the fundamentals one node at a time and gradually build increasingly sophisticated effects.
Start with simple materials such as animated colors and glow, then move toward Fresnel effects, dissolve shaders, holograms, distortion, and procedural materials.
Once you become comfortable with Shader Graph, combine it with C# scripts and your gameplay systems. That’s where you can start creating truly interactive visual effects.
The best way to learn is to build small experiments rather than trying to create a complicated shader immediately.
Start simple. Connect nodes. Experiment. Profile. Then build something unique.